
1. Prepare
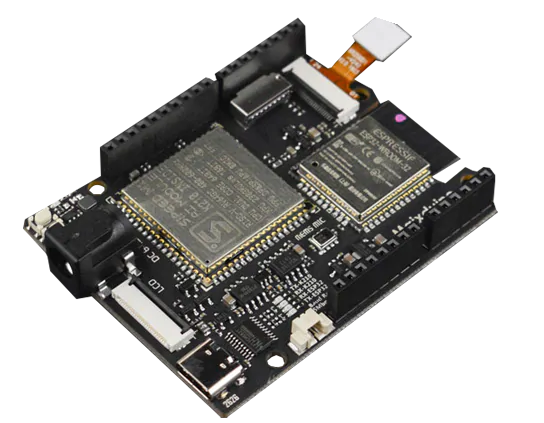
- Maixduino kit
- Python3
- Ubuntu 64 bit

2. Compile and flashing firmware
Maixduino can be used not only with Arduino IDE but also with MicroPython or even Linux. This tutorial just focuses on MicroPython.
2.1. Install dependencies
sudo apt install python3 python3-pip build-essential cmake micro
sudo pip3 install pyserial
2.2 Download toolchain
wget http://dl.cdn.sipeed.com/kendryte-toolchain-ubuntu-amd64-8.2.0-20190409.tar.xzBackup link
wget https://github.com/bigdolphin/maixduino/raw/main/Toolchain/kendryte-toolchain-ubuntu-amd64-8.2.0-20190409.tar.xzGo to section 6 if you want to re-compile toolchain.
2.3 Extract to /opt
sudo tar -Jxvf kendryte-toolchain-ubuntu-amd64-8.2.0-20190409.tar.xz -C /opt
ls /opt/kendryte-toolchain/bin
2.4 Get source
git clone https://github.com/bigdolphin/MaixPy.git2.5 Get modules
cd MaixPy
git submodule update --recursive --init
Update 2025: Fix compile error for micropython on Ubuntu 24 with GCC 13
cd components/micropython/core/py
micro mkrules.mk
Add the option “-Wno-error=enum-int-mismatch -Wno-dangling-pointer” to line 35 of the rule:
$(Q)$(CC) $(CFLAGS) -Wno-error=enum-int-mismatch -Wno-dangling-pointer -c -MD -o $@ $<2.6 Clean before build
cd projects/maixpy_k210
python3 project.py clean
python3 project.py distclean
2.7 Configure project
Change toolchain path if you place at different directory.
python3 project.py --toolchain /opt/kendryte-toolchain/bin --toolchain-prefix riscv64-unknown-elf- config2.8 Select modules
python3 project.py menuconfig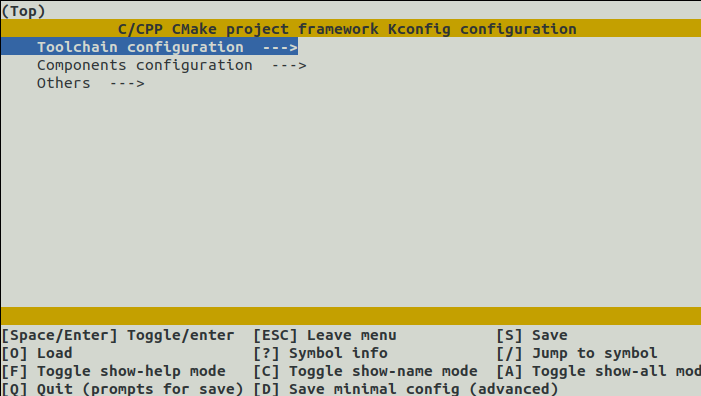
To have enough memory for complex camera or AI applications, NES, video and ws2812 modules should be disabled.
Components configuration —>
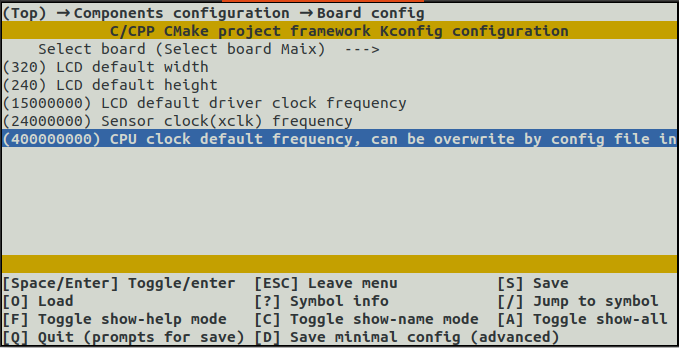
——————– Board config —>
——————– (400000000)CPU clock default frequency, can be overwrite by config file in file system
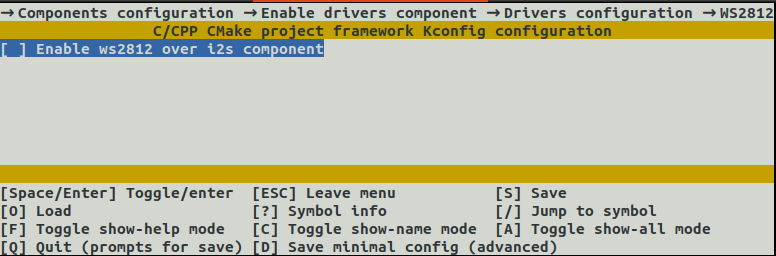
—————–*- Enable drivers component —>
———————–> Drivers configuration —>
——————————-> WS2812 —>
—————————————> [ ] Enable ws2812 over i2s component
————— [*] Enbale micropython component
———————–> Micropython configurations
——————————-> Modules configurations
—————————————> [*] Enable _thread module
—————————————> [ ] Enable NES emulator
—————————————> [*] Enbale LittlvGL
—————————————> [*] Enable Speech Recognizer
—————————————> [*] Enable Https SSL
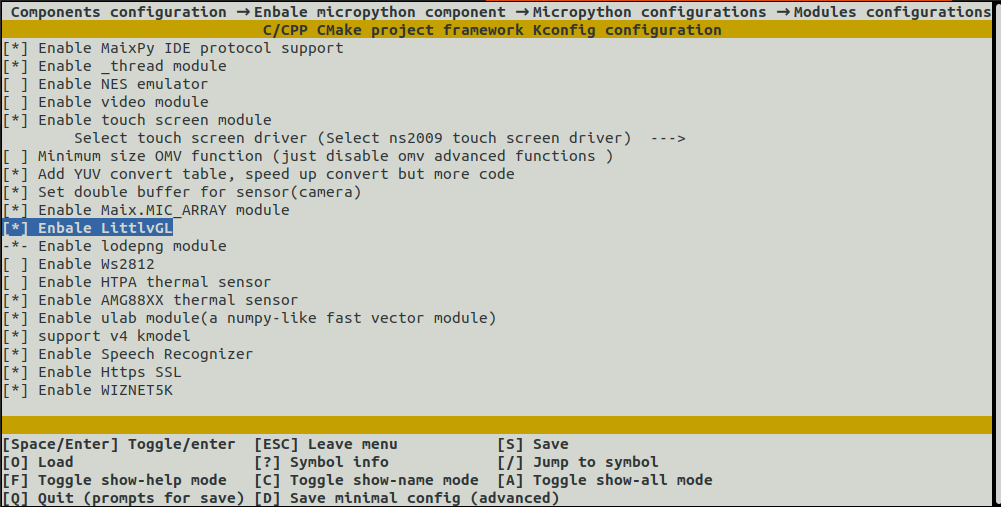
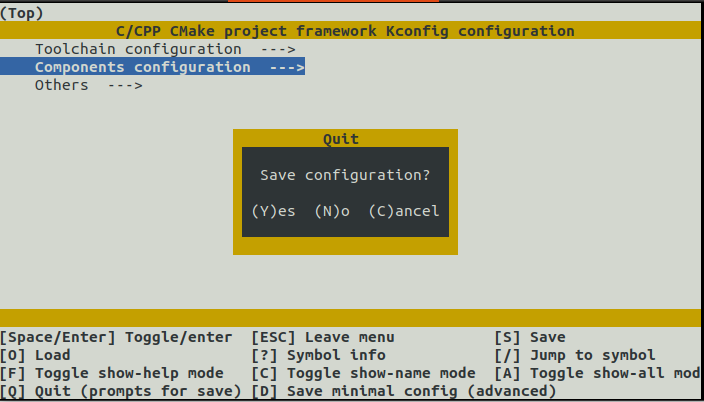
Press Esc many times to quit and Yes when it asks to save
2.9 Rebuild project
python3 project.py rebuild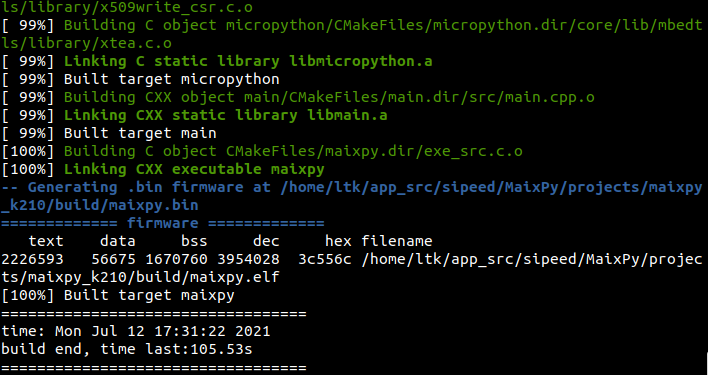
2.10 Connect board to PC and check it will have two USB
ls /dev/ttyUSB*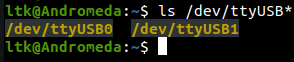
2.11 Flash (Burn) firmware to board
python3 project.py -B maixduino -p /dev/ttyUSB0 -b 1500000 -S flash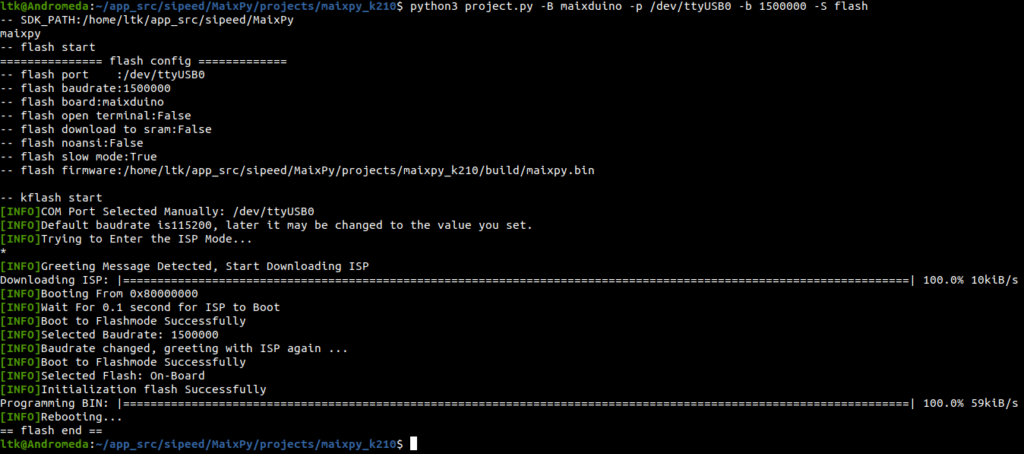
3. Test with MaixPy IDE
3.1 Download and install MaixPy IDE
Go to http://dl.sipeed.com/shareURL/MAIX/MaixPy/ide/ to download MaixPy IDE
Backup link: MaixPy IDE
3.2 Install Maix IDE at /opt/maixpyide
chmod +x maixpy-ide-linux-x86_64-0.2.5.run
sudo ./maixpy-ide-linux-x86_64-0.2.5.run
3.3 Open Maix IDE
/opt/maixpyide/bin/maixpyide &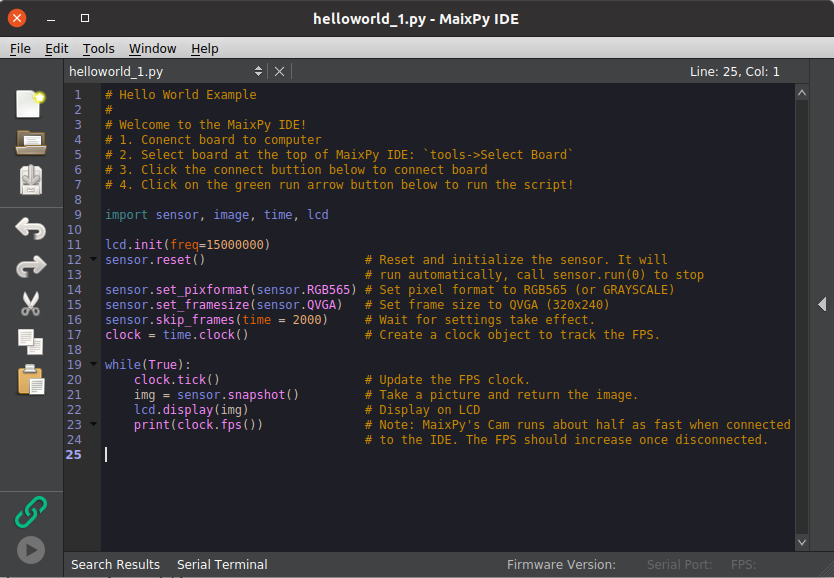
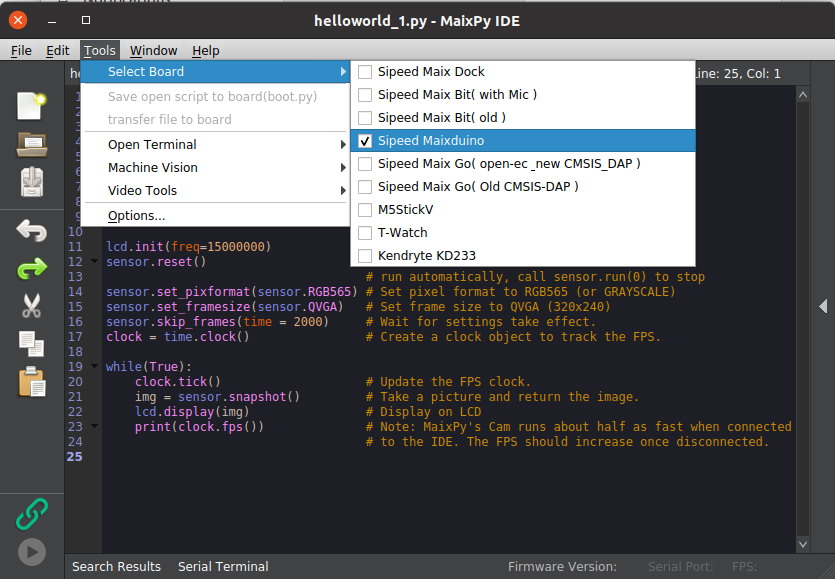
3.4 Select board Maixduino
Tools -> Select board -> Sipeed Maixduino
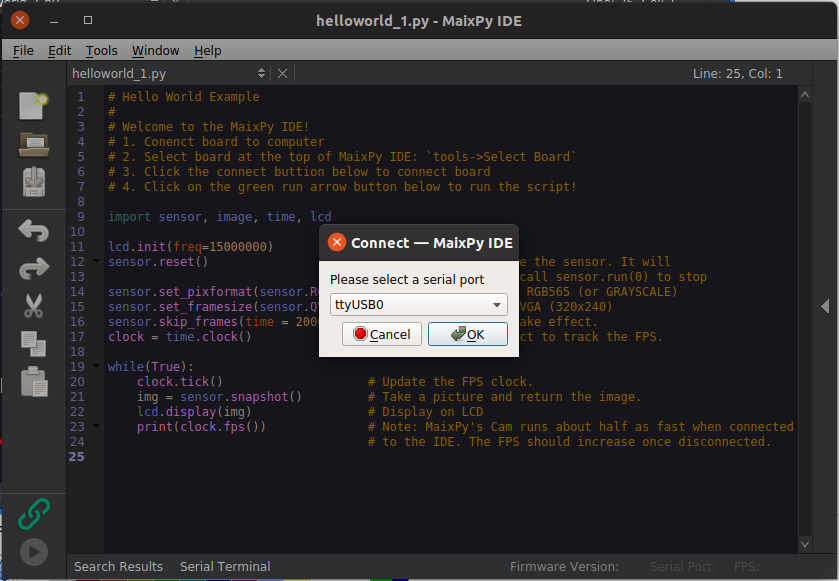
3.5 Connect IDE to board
Click Connect icon to select USB0 to connect.

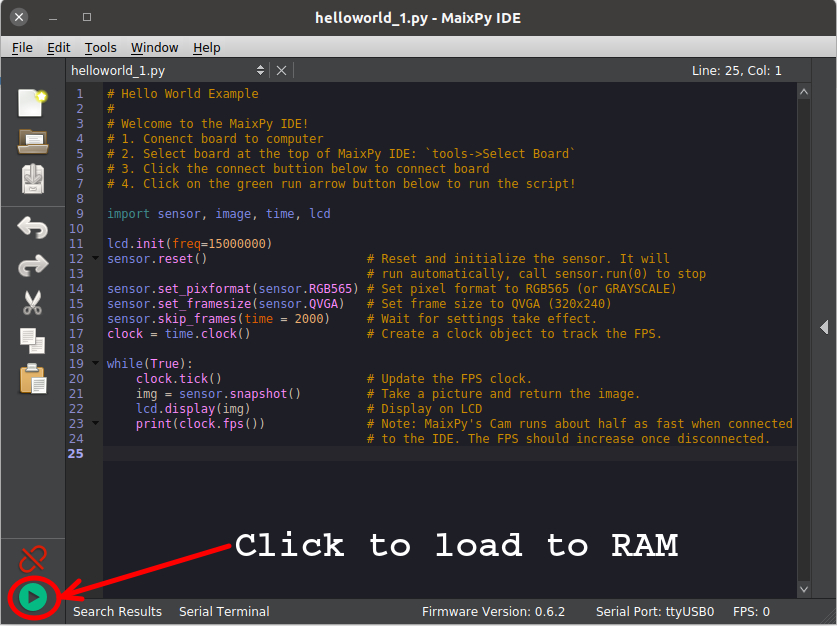
3.6 Load script to RAM of board for testing
Click on Start icon or Ctrl+R
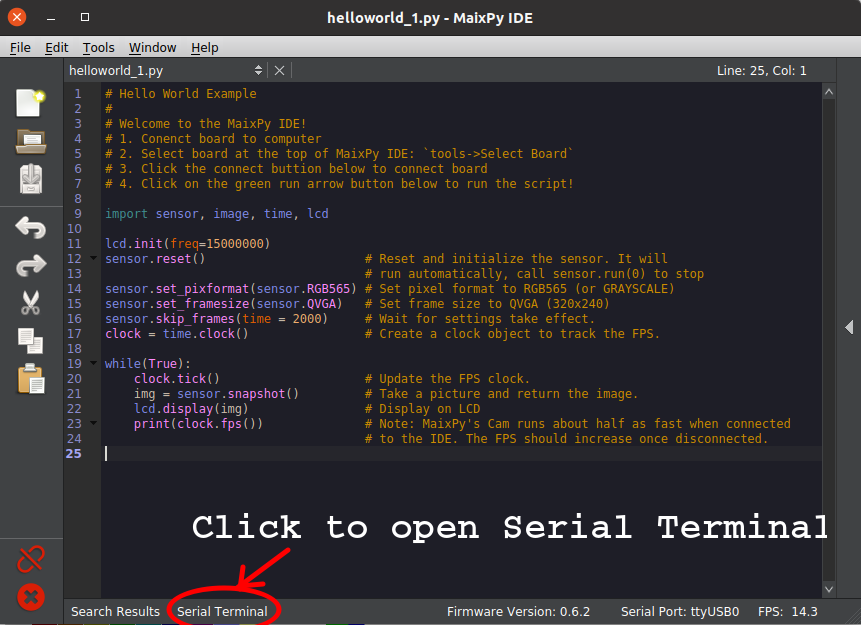
3.7 Open Serial Terminal to view result
Click on Serial Terminal on the bottom bar of the IDE
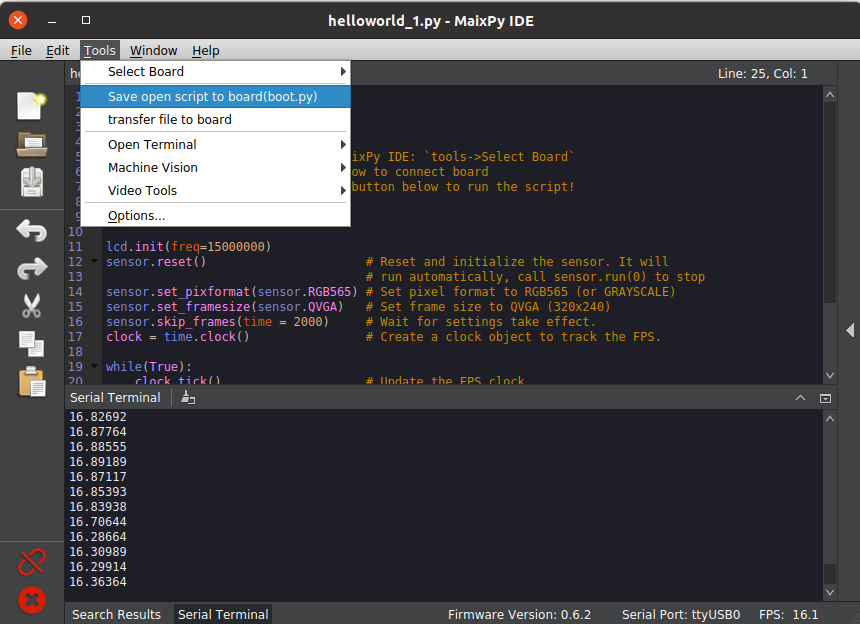
3.8 Save script to flash memory
Tools -> Save open script to board(boot.py)
4. Manage files on board
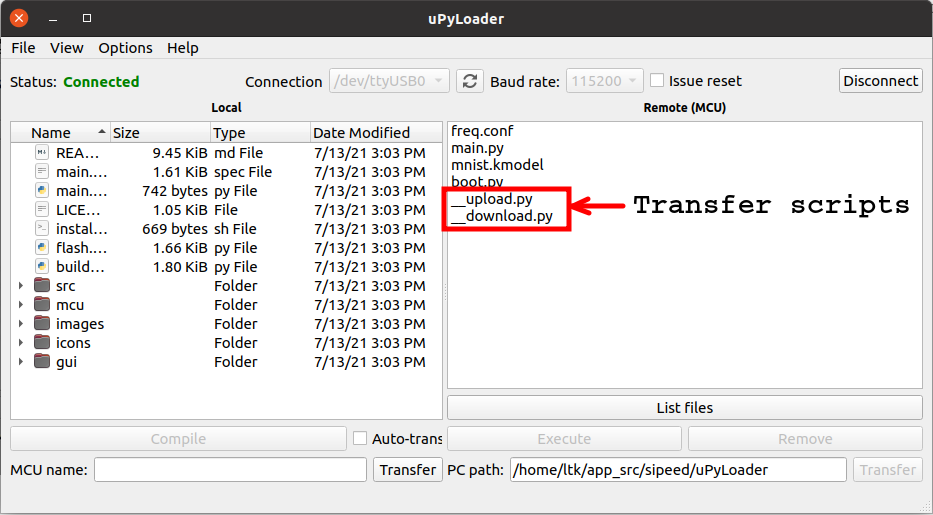
uPyLoader is a useful tool to manage files (list, upload, download) on flash memory of Maixduino
4.1 Download tool
git clone https://github.com/BetaRavener/uPyLoaderBackup link
git clone https://github.com/bigdolphin/uPyLoader.git4.2 Open tool
Disconnect MaixPy IDE with board and open uPyLoader
cd uPyLoader
python3 main.py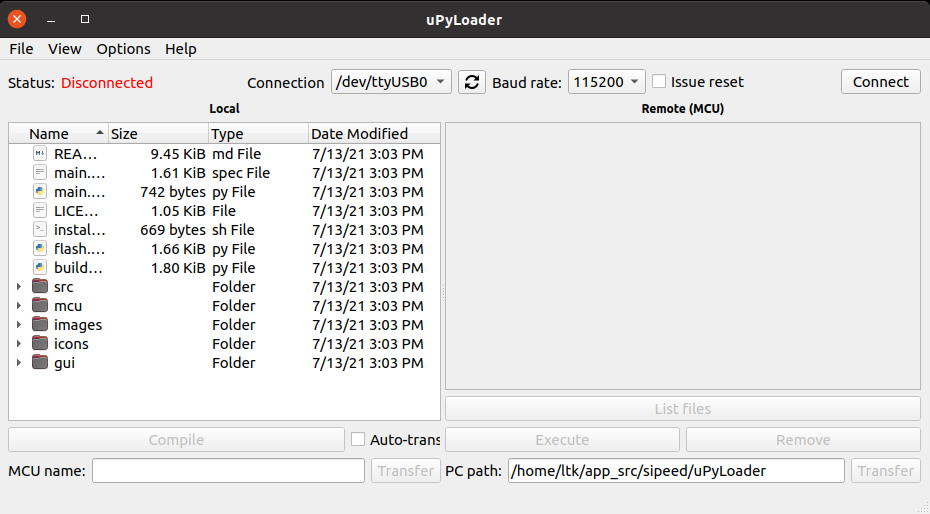
4.3 Connect to board
Click on Connect button to connect Maixduino via USB0

uPyLoader will notice if the board has no transfer scripts. Go to File -> Init transfer files to fix this issue.
5. Overclocking
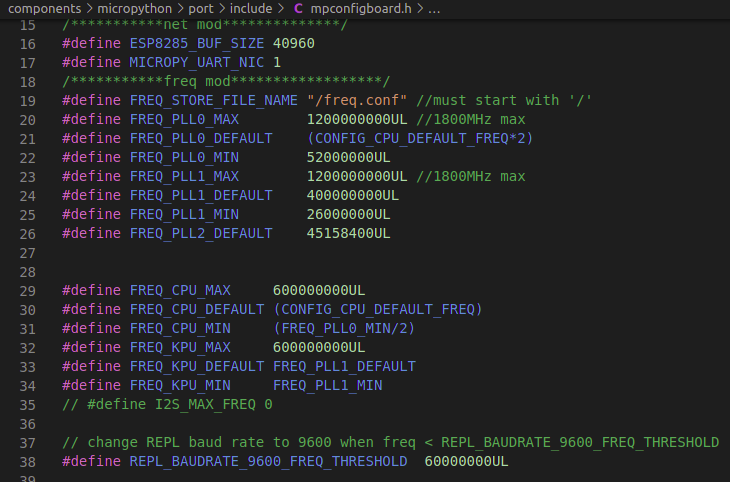
K210 CPU can run at 800MHz maximum. However, Micropython on Maixduino just supports CPU clock range from 26 Mhz to 600 MHz with step of 13 MHz, voltage modification is required to run at higher frequency. These limitations are defined in the mpconfigboard.h of source code of firmware at path: components/micropython/port/include/mpconfigboard.h
Because of limitation of power supply and heat sink on Maixduino, CPU K210 can be overclocked to 598 MHz maximum without using KPU module. KPU clock default value is 416 MHz, it can be overclocked to values 450 MHz, 468 MHz, 476 MHz, 485 MHz, 494 MHz, 502 MHz, 520 MHz, 528 MHz, 537 MHz, 546 MHz, 559 MHz, 572 MHz, 585 MHz and 598 MHz. If both CPU and KPU are running, we should overclock CPU to 546 MHz and KPU to 450 MHz maximum to ensure long run.
5.1 Get current CPU and KPU clocks
Use freq module in module Maix. This module has get functions to get CPU and KPU frequencies.
from Maix import freq

cpu_frq, kpu_frq=freq.get()
print("CPU Frq = %d MHz" %(cpu_frq))
print("KPU Frq = %d MHz" %(kpu_frq))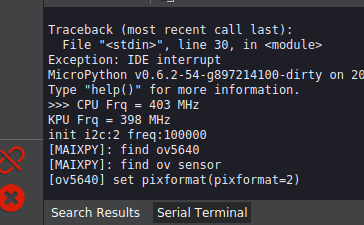
5.2 Overclocking
To overclock, use set function of Freq module. This function should be used only once because it will reboot the board after executing. The script below will check frequencies and set clocks to 546 MHz for CPU and 450 MHz for KPU. Setting new clocks will be saved into freq.conf on flash memory of the device, therefore, to ensure any issue on writing to flash, the script will remove old freq.conf file before setting.
from Maix import freq

cpu_frq, kpu_frq=freq.get()
print("\nCPU Frq = %d MHz" %(cpu_frq))
print("KPU Frq = %d MHz" %(kpu_frq))

if cpu_frq != 546 or kpu_frq != 450:
    print("Removing old frequency...")
    os.remove("freq.conf")
    print("Overclocking CPU to 546 MHz and KPU to 450 MHz...")
    # kpu frequency is pll1/kpu_div
    freq.set(cpu=546, pll1=450, kpu_div=1)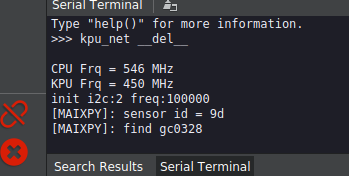
6. Recompile toolchain
6.1 Install dependencies
sudo apt install autoconf automake autotools-dev curl libmpc-dev libmpfr-dev libgmp-dev gawk build-essential bison flex texinfo gperf libtool patchutils bc zlib1g-dev libexpat-dev libisl-dev6.2 Get source
git clone --recursive https://github.com/kendryte/kendryte-gnu-toolchainBackup link
git clone --recursive https://github.com/bigdolphin/kendryte-gnu-toolchain6.3 Install submodules
cd kendryte-gnu-toolchain
git submodule update --init --recursive
cd riscv-gcc/
./contrib/download_prerequisites
cd ..
6.4 Configure
Change prefix path if you want to install the toolchain at different path
./configure --prefix=/opt/kendryte-toolchain --with-cmodel=medany --with-arch=rv64imafc --with-abi=lp64f6.5 Compile
sudo make -j$(nproc)7. Save board info into Maixduino
If you want to use alias names for GPIO and get that with board module, config.json file must be save into flash memory. Run the script below to do that.
import json
config = {
  "type": "duino",
  "board_info": {
      'BOOT_KEY': 16,
      'LED_R': 13,
      'LED_G': 12,
      'LED_B': 14,
      'WIFI_TX': 6,
      'WIFI_RX': 7,
      'WIFI_EN': 8,
      'MIC0_WS': 19,
      'MIC0_DATA': 20,
      'MIC0_BCK': 18,
      'I2S_WS': 33,
      'I2S_DA': 34,
      'I2S_BCK': 35,
      'ESP32_CS': 25,
      'ESP32_RST': 8,
      'ESP32_RDY': 9,
      'ESP32_MOSI': 28,
      'ESP32_MISO': 26,
      'ESP32_SCLK': 27,
      'PIN0':4,
      'PIN1':5,
      'PIN2':21,
      'PIN3':22,
      'PIN4':23,
      'PIN5':24,
      'PIN6':32,
      'PIN7':15,
      'PIN8':14,
      'PIN9':13,
      'PIN10':12,
      'PIN11':11,
      'PIN12':10,
      'PIN13':3,
  }
}
cfg = json.dumps(config)
print(cfg)
try:
  with open('/flash/config.json', 'rb') as f:
    tmp = json.loads(f.read())
    print(tmp)
    if tmp["type"] != config["type"]:
      raise Exception('config.json no exist')
except Exception as e:
  with open('/flash/config.json', "w") as f:
    f.write(cfg)
  import machine
  machine.reset()
Leave a Reply